1. Click on the 3rd button in the middle of your menu at the bottom of your app to access your expenses :
Onglet ‘All’

This tab allows you to have an overview of your spendings, wether they have been accepted, denied, or pending.
Icons will indicate the expense category, as well as their status. In orange, an action is required or the refund is pending (ex: a refund on your personal credit card). In green, the expense has been processed and the refund is done. In red, the expense or the refund has been denied.
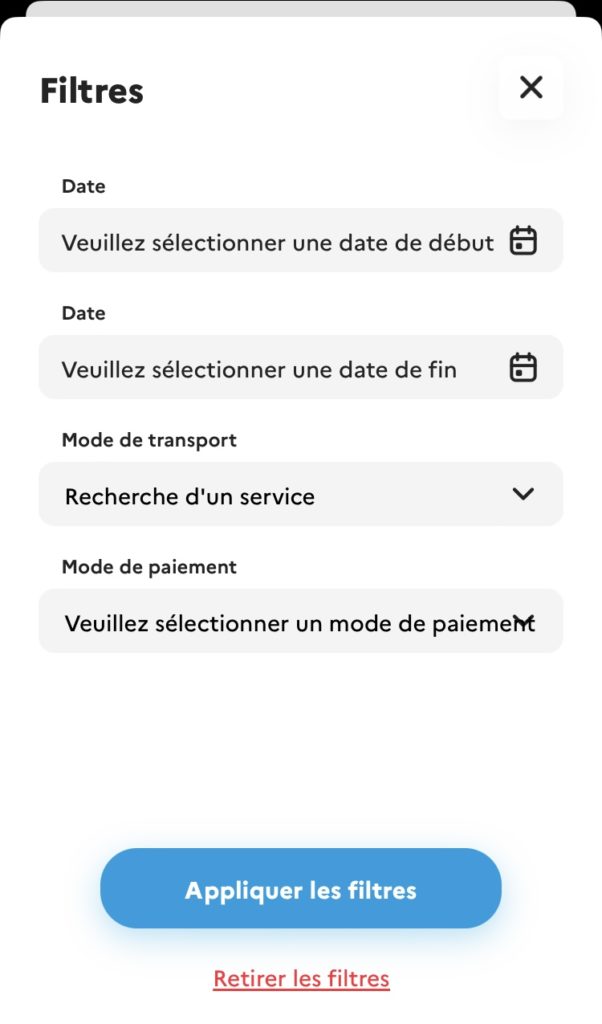
You can use filters to find expenses more rapidly
Tab “Action required”
You will arrive on the 1st tab of your required action expenses : you are invited to click on each one to complete it. Fill in the device concerned, the date, the reason and the supplier.
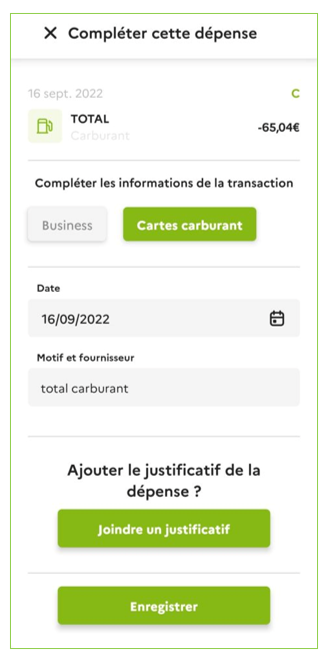
2. Then click on “Join a receipt” to add the expense receipt :
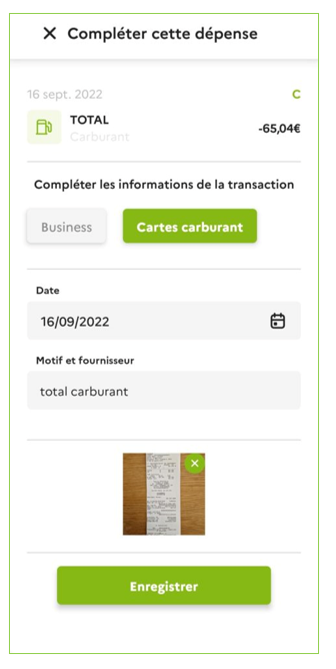
Then, click on “Save“.
This expense will show with the corresponding colour
Tab “Refunds”
This tab allows you to see the full list of your refunds. The refunds are expenses you made with your personal means of payment, and for which you are asking for a refund.
You can see your refunds and their status (accepted, pending, denied)
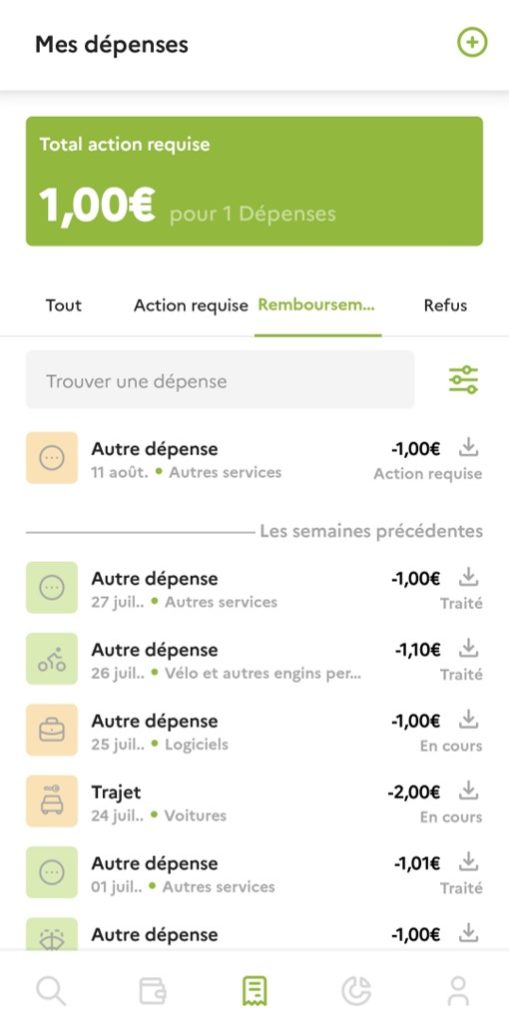
4. To create a claim, click on the + at the top right of your screen. Click on “Indemnité Kilométrique”, “Trajet” or “Autre dépense” depending on the nature of your request.
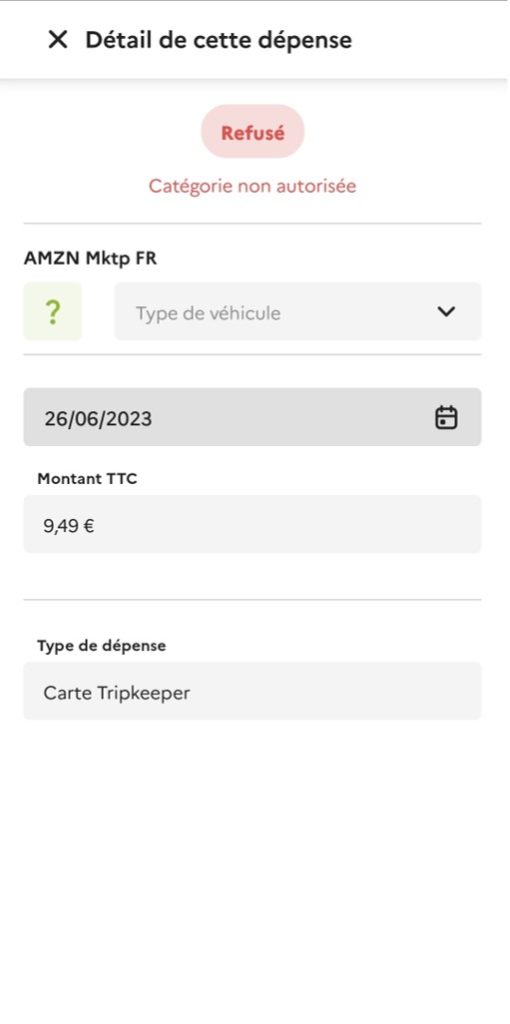
Tab “Denied”
If your expense or refund is in red (with the “Denied” claim), you can see the reason why by clicking on it.